今回はAUTOMATIC1111で事前にSettingsで設定しておいた情報を、起動時に自動で読み込む方法を解説します。
Google Colabでは毎回AUTOMATIC1111をインストールするため、Settingsで設定を変更してから再起動する必要があります。Google Driveから自動で設定ファイルを読み込むことで、そのような手間を省いてすぐにイラスト生成を始めることが可能です。
また、当ブログのStable Diffusionに関する記事を以下のページでまとめていますので、あわせてご覧ください。

Stable Diffusionとは
Stable Diffusion(ステーブル・ディフュージョン)は2022年8月に無償公開された描画AIです。ユーザーがテキストでキーワードを指定することで、それに応じた画像が自動生成される仕組みとなっています。
NVIDIAのGPUを搭載していれば、ユーザ自身でStable Diffusionをインストールし、ローカル環境で実行することも可能です。
(出典:wikipedia)
Stable DiffusionのWeb UI AUTOMATIC1111
AUTOMATIC1111はStable Diffusionをブラウザから利用するためのWebアプリケーションです。
AUTOMATIC1111を使用することで、プログラミングを一切必要とせずにStable Diffusionで画像生成を行うことが可能になります。
Web UI AUTOMATIC1111のインストール方法
Web UIであるAUTOMATIC1111を実行する環境は、ローカル環境(自宅のゲーミングPCなど)を使用するか、クラウドコンピューティングサービスを利用する2通りの方法があります。
以下の記事ではそれぞれの環境構築方法について詳し解説していますので、合わせてご覧ください。
AUTOMATIC1111の設定ファイルについて
まず、AUTOMATIC1111の設定ファイルの概略について解説します。
AUTOMATIC1111の「Settings」タブを開くと、設定項目を変更する画面が表示されます。

この「Settings」タブで設定した情報は以下の「config.json」というファイルに保存されています。
このファイルをGoogle ColabでAUTOMATIC1111を実行する際に自動で読み込むことで、毎回Settingsを変更する必要が無くなります。

AUTOMATIC1111の設定を変更する
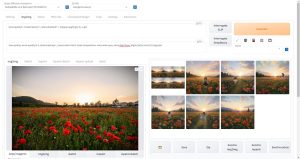
まずはSettingsで設定情報を変更します。今回は例として以下のページで紹介しているVAEを選択するドロップダウンリストのUIを追加する変更を行いました。
変更方法の詳細は以下のページで紹介していますので、あわせてご覧ください。
手順通り変更を行ったら、一度Google Colabのjupyter notebookの編集画面に戻ります。

設定ファイル config.jsonをダウンロードする
設定の変更を行った情報が保存されている「config.json」ファイルを、一旦ローカル環境にダウロードします。
jupyter notebookの編集画面で左端のフォルダのアイコンをクリックします。
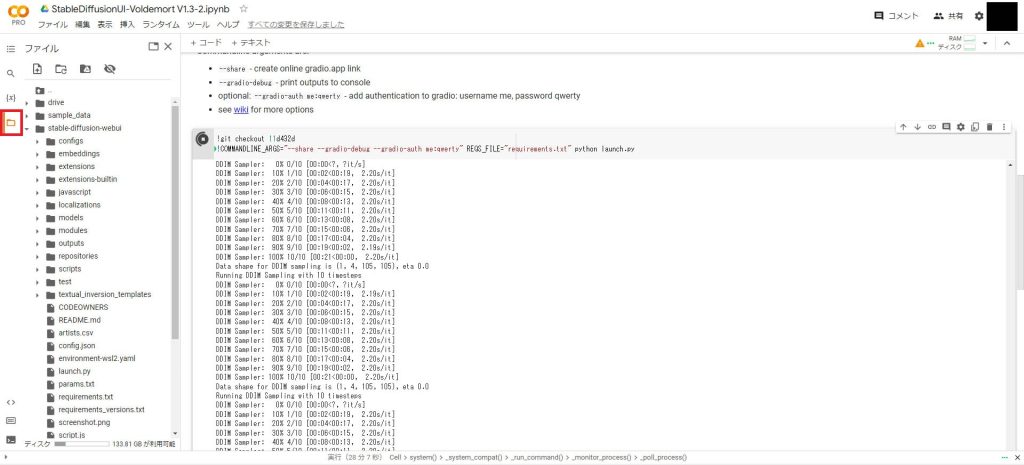
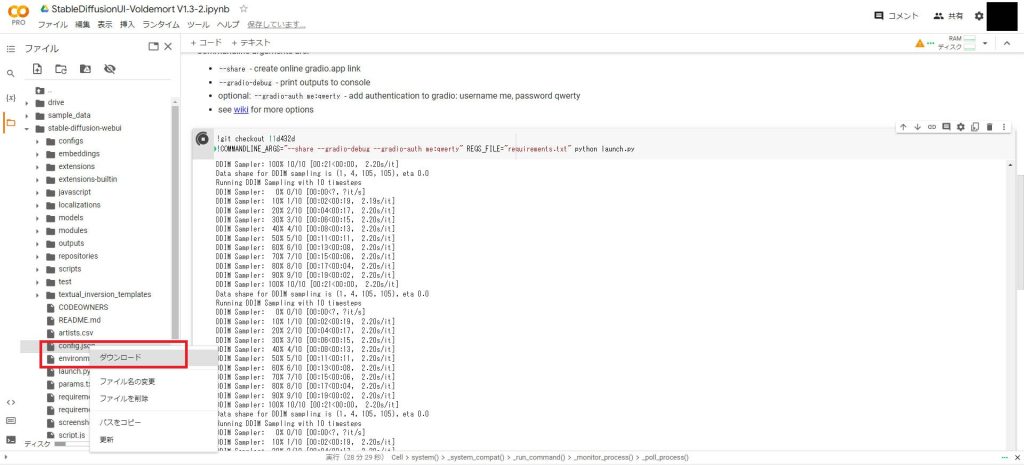
フォルダ、ファイルの一覧に「config.json」がありますので、右クリックして「ダウンロード」を選択します。
ローカルにダウンロードした「config.json」を確認のためテキストエディタで開くと、VAEの設定項目を追加した内容が反映されていることが確認できました。
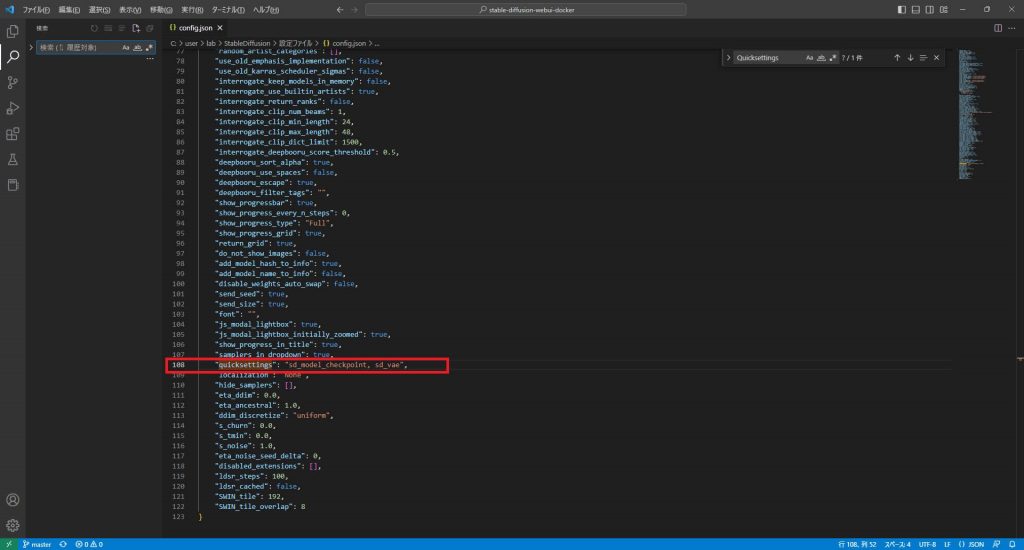
「quicksettings」の項目にAUTOMATIC1111の「Settings」タブで設定したないようが、以下のように反映されています。
"quicksettings": "sd_model_checkpoint, sd_vae",このファイルをAUTOMATIC1111起動前に上書きすれば、今後毎回設定しなくても良くなります。

設定ファイルをGoogle Driveにアップロードする
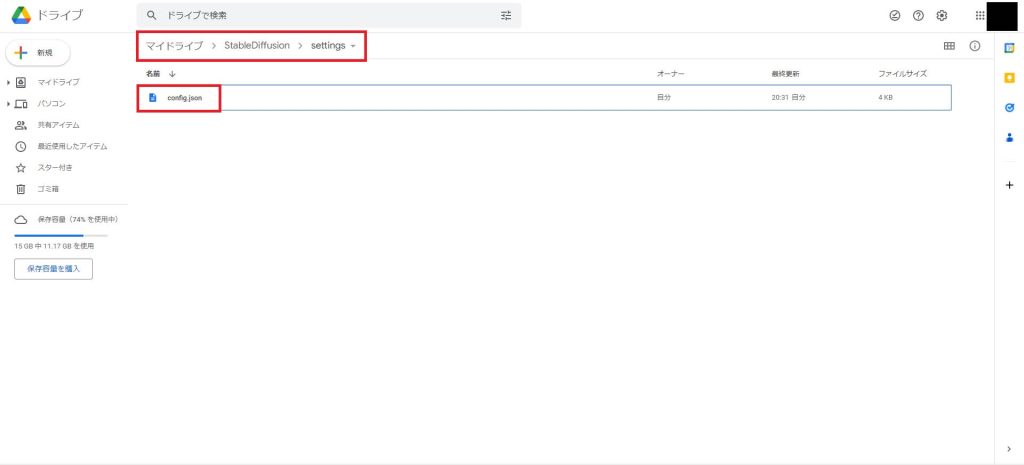
先ほどダウンロードした「config.json」を起動時に自動で読み込ませるため、ファイルをGoogle Driveにアップします。
配置するディレクトリはお好みで決めてください。(私は「マイドライブ>StableDiffusion>settings」としました)
設定ファイルコピー処理を追加する
起動時に設定ファイル「config.json」ファイルを自動でGoogle Driveからコピーして上書きする処理を追加します。
今回は以下の記事で紹介した「 Akaibu」の「StableDiffusionUI-Voldemort V1.3.ipynb」を例に説明します。

「StableDiffusionUI-Voldemort V1.3.ipynb」の③セルのモデルのコピー処理の後に、設定ファイルのコピー処理を追加します。
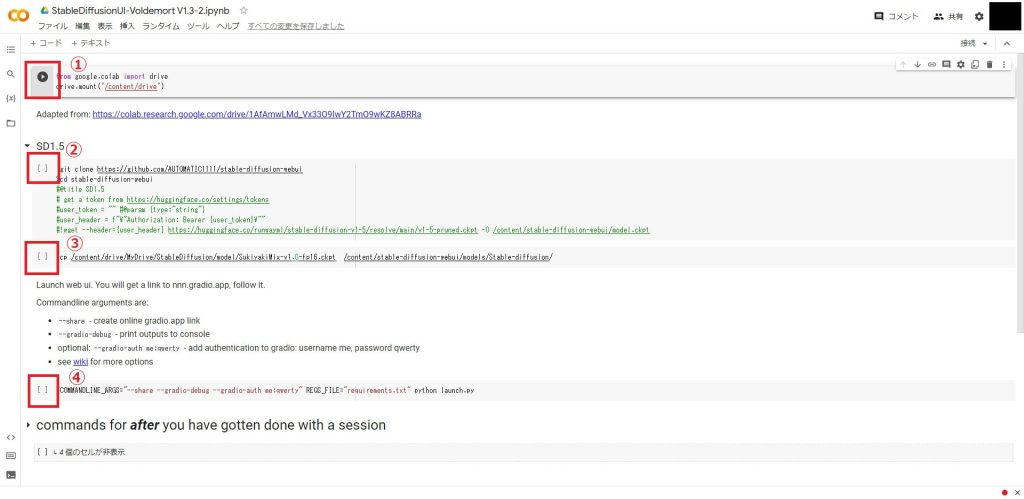
③セルを以下のように変更します。
変更前
#モデルとVAEをコピー
!cp /content/drive/MyDrive/StableDiffusion/model/SukiyakiMix-v1.0-fp16.ckpt  /content/stable-diffusion-webui/models/Stable-diffusion/
!cp /content/drive/MyDrive/StableDiffusion/model/orangemix.vae.pt  /content/stable-diffusion-webui/models/VAE/
変更後
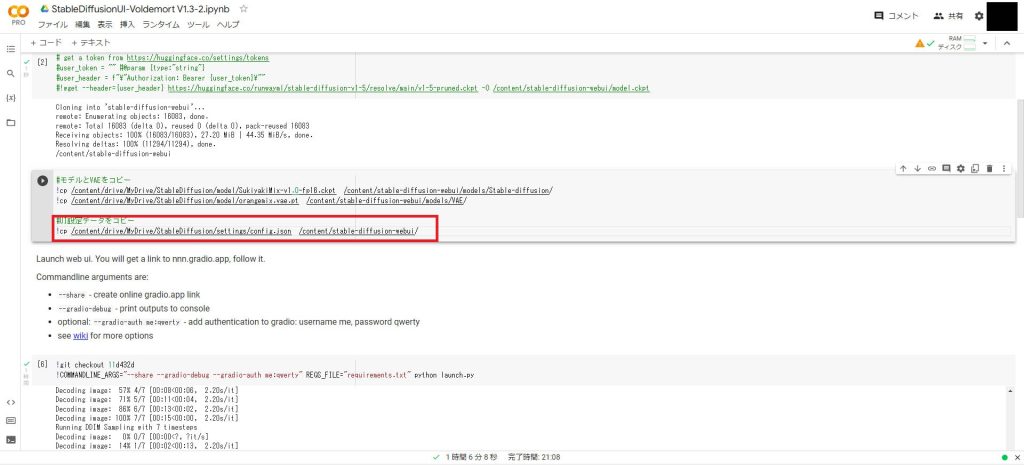
#モデルとVAEをコピー
!cp /content/drive/MyDrive/StableDiffusion/model/SukiyakiMix-v1.0-fp16.ckpt  /content/stable-diffusion-webui/models/Stable-diffusion/
!cp /content/drive/MyDrive/StableDiffusion/model/orangemix.vae.pt  /content/stable-diffusion-webui/models/VAE/

#UI設定データをコピー
!cp /content/drive/MyDrive/(設定ファイルを配置したディレクト)/config.json  /content/stable-diffusion-webui/
修正後は以下のようになりました。

動作確認
jupyter notebookの「StableDiffusionUI-Voldemort V1.3.ipynb」を修正したら、全てのセルを実行します。
AUTOMATIC1111が起動したら、UIのページにアクセスします。
以下の赤枠のように最初からVAEの選択項目が追加された状態で起動することができました。
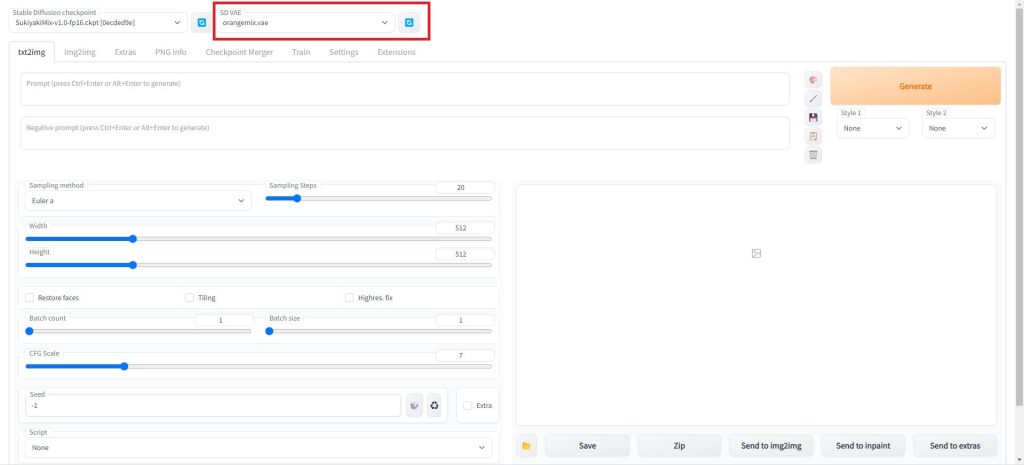
VAE以外の項目についても、事前にSettingsで設定を変更しておいて、今回と同様の手順で「config.json」を起動時に上書きしてやることで反映することが可能です。
Stable Diffusionのテクニックを効率よく学ぶには?
 カピパラのエンジニア
Stable Diffusionを使ってみたいけど、ネットで調べた情報を試してもうまくいかない…
 猫のエンジニア
そんな時は、操作方法の説明が動画で見られるUdemyがおすすめだよ!
動画学習プラットフォームUdemyでは、画像生成AIで高品質なイラストを生成する方法や、AIの内部で使われているアルゴリズムについて学べる講座が用意されています。
Udemyは講座単体で購入できるため安価で(セール時1500円くらいから購入できます)、PCが無くてもスマホでいつでもどこでも手軽に学習できます。
Stable Diffusionに特化して学ぶ
Stable Diffusionに特化し、クラウドコンピューティングサービスPaperspaceでの環境構築方法から、モデルのマージ方法、ControlNetを使った構図のコントロールなど、中級者以上のレベルを目指したい方に最適な講座です。
画像生成AIの仕組みを学ぶ
画像生成AIの仕組みについて学びたい方には、以下の講座がおすすめです。
画像生成AIで使用される変分オートエンコーダやGANのアーキテクチャを理解することで、よりクオリティの高いイラストを生成することができます。
まとめ
今回はAUTOMATIC1111で起動時に設定情報を読み込む方法について解説しました。設定ファイルをGoogle Driveから自動で読み込むことで、すぐに使いたい環境でイラスト生成を始められます。ぜひ活用してみてください。
また、以下の記事で効率的にPythonのプログラミングスキルを学べるプログラミングスクールの選び方について解説しています。最近ではほとんどのスクールがオンラインで授業を受けられるようになり、仕事をしながらでも自宅で自分のペースで学習できるようになりました。
スキルアップや副業にぜひ活用してみてください。

スクールではなく、自分でPythonを習得したい方には、いつでもどこでも学べる動画学習プラットフォームのUdemyがおすすめです。
講座単位で購入できるため、スクールに比べ非常に安価(セール時1200円程度~)に学ぶことができます。私も受講しているおすすめの講座を以下の記事でまとめていますので、ぜひ参考にしてみてください。

それでは、また次の記事でお会いしましょう。


コメント