
今回はGoogleのクラウドコンピューティングサービス、Google ColabratoryでStable DiffusionのWeb UIであるAUTOMATIC1111を使って画像生成する方法を解説します。
自宅にゲーミングPCなど、高性能なグラフィックボードを搭載したPCを持っていない方でも利用することができます。
2023年4月現在、Google Colabratoryの無料版ではStable Diffusionが使用できなくなりました。無料版で使用した場合、アカウント停止などの措置が取られる可能性がありますのでご注意ください。
(有料版のGoogle Colaboratory Proでは引き続き使用できるようです)
前回のローカル環境同様、Pythonのプログラミングを一切必要とせず画像を生成することができますので、ぜひ活用してみてください。
ローカル環境でAUTOMATIC1111を使用する方法については、以下の記事で解説しています。
また、当ブログ内のStable Diffusionに関する記事を以下のページでまとめていますので、あわせてご覧ください。

Stable Diffusionとは
Stable Diffusion(ステーブル・ディフュージョン)は2022年8月に無償公開された描画AIです。ユーザーがテキストでキーワードを指定することで、それに応じた画像が自動生成される仕組みとなっています。
NVIDIAのGPUを搭載していれば、ユーザ自身でStable Diffusionをインストールし、ローカル環境で実行することも可能です。
(出典:wikipedia)

AUTOMATIC1111
GitHubのAUTOMATIC1111公式リポジトリで、Google Colabで使用するためのcolabノートが公開されています。
AUTOMATIC1111の公式リポジトリは以下となります。

ページにアクセスするとGoogle Colabの項目にリストがあります。
今回は「maintained by Akaibu」を使って構築する方法を解説します。
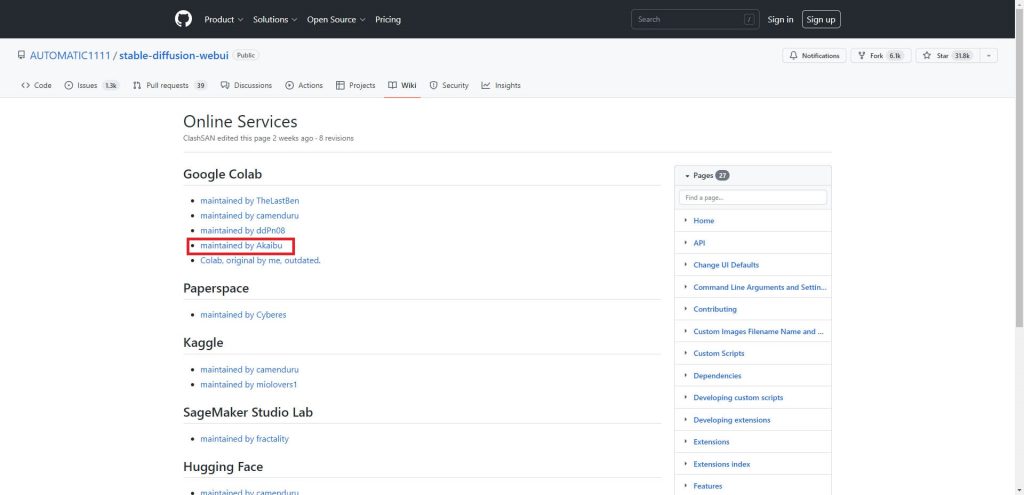
リンクをクリックして、「StableDiffusionUI-Voldemort V1.3.ipynb」ファイルのコピーを自分のGoogle Driveに保存しておいてください。

学習済みモデルの入手
続いてStable Diffusionで使用するモデルを入手します。
今回はVすき焼きさんが公開されているSukiyakiMixV1を例に解説します。
以下のHugging Faceのページへアクセスします。
「Files and versions」のタブをクリックします。
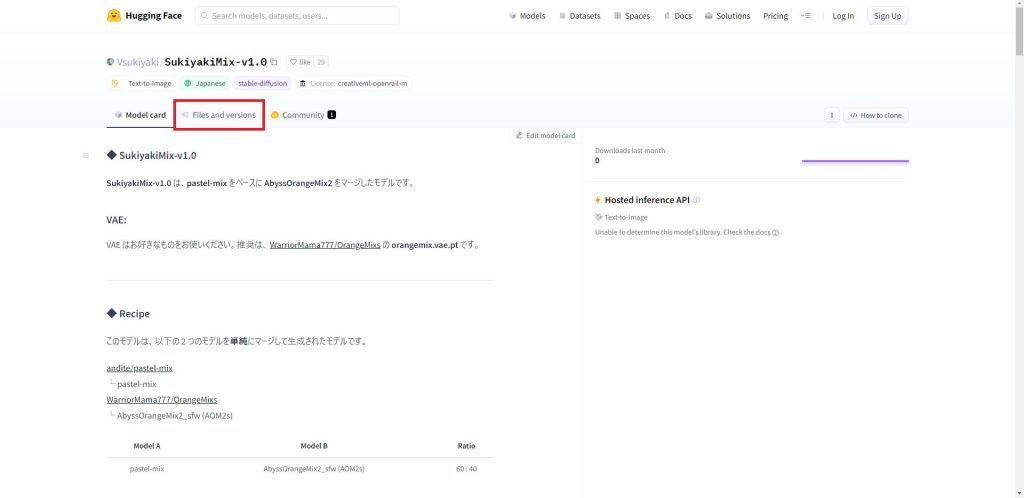
ファイルの一覧に表示されている「.ckpt」と「.safetensors」という拡張子のファイルがモデルファイルです。
AUTOMATIC1111ではどちらの拡張子も読み込むことができます。
fp16とfp32はモデルサイズが変わりますので、Colabなどストレージとメモリに制約がある環境ではfp16がおすすめです。今回はfp16を選択しました。

ファイル名をクリックすると、ダウンロードリンクが表示されますので、クリックしてダウンロードしてください。
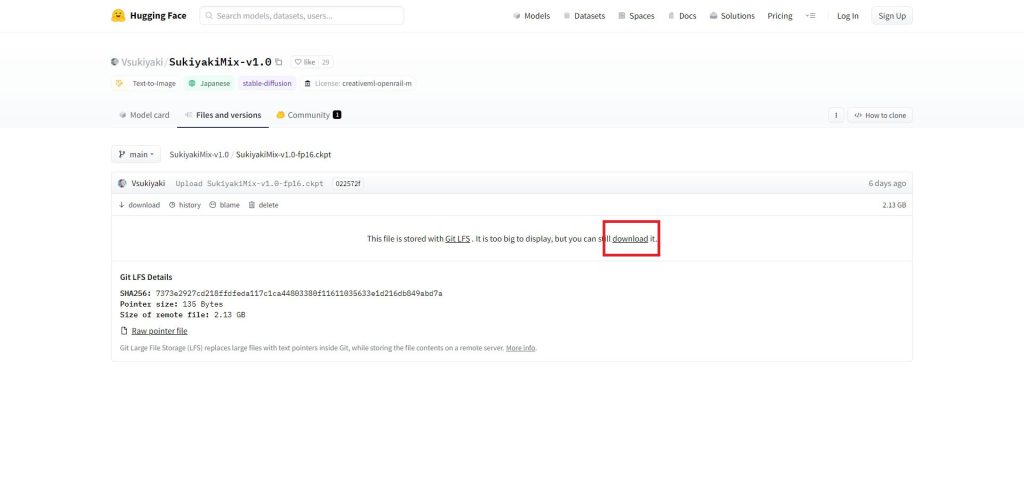
以上でモデルの入手は完了です。
私が使用しているおすすめのモデルについても以下の記事で紹介していますので、あわせてご覧ください。

学習済みモデルのアップロード
続いて先ほど入手したモデルをGoogle Driveにアップロードします。
今回はマイドライブ/StableDiffusion/modelというディレクトリを作成しました。
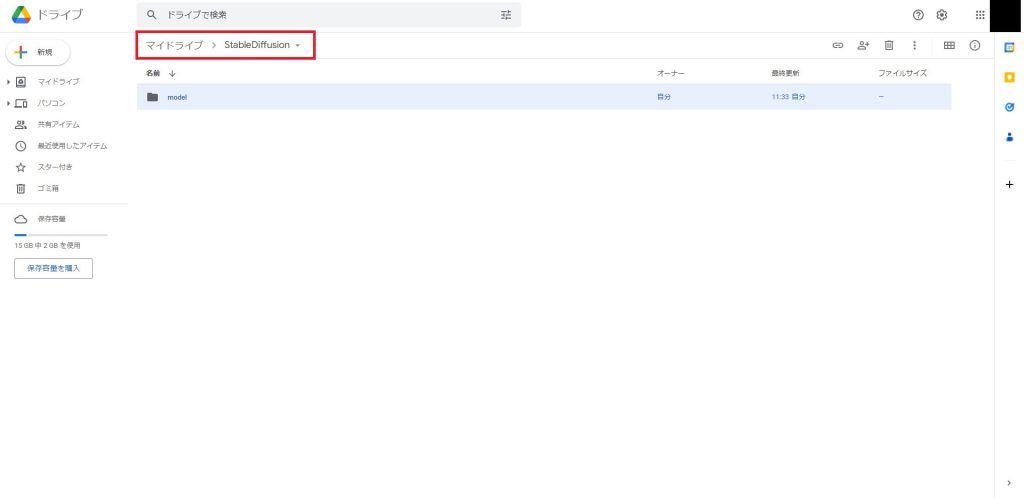
作成したディレクトリに移動したら、先ほどダウンロードしたモデルファイルをGoogle Driveのウィンドウにドラッグアンドドロップします。
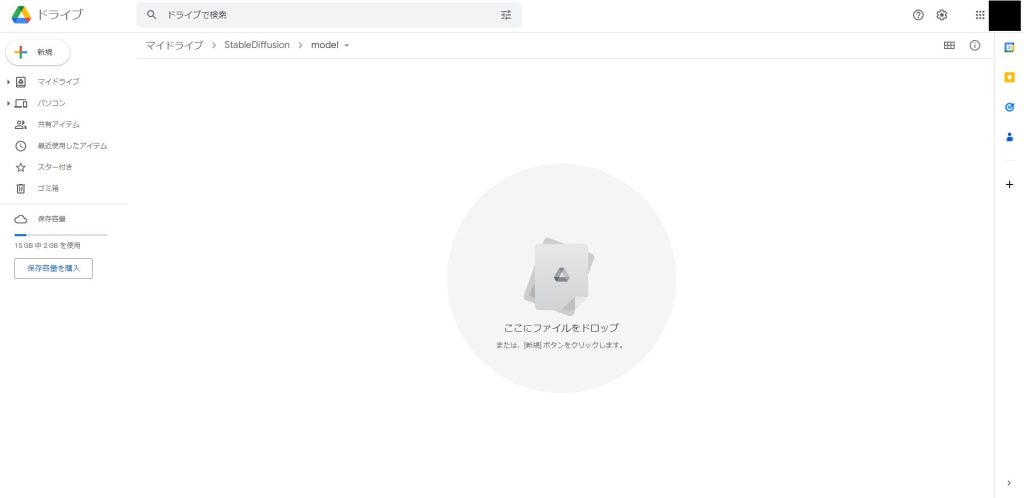
しばらく待つとアップロードが完了し、ファイル名が表示されます。
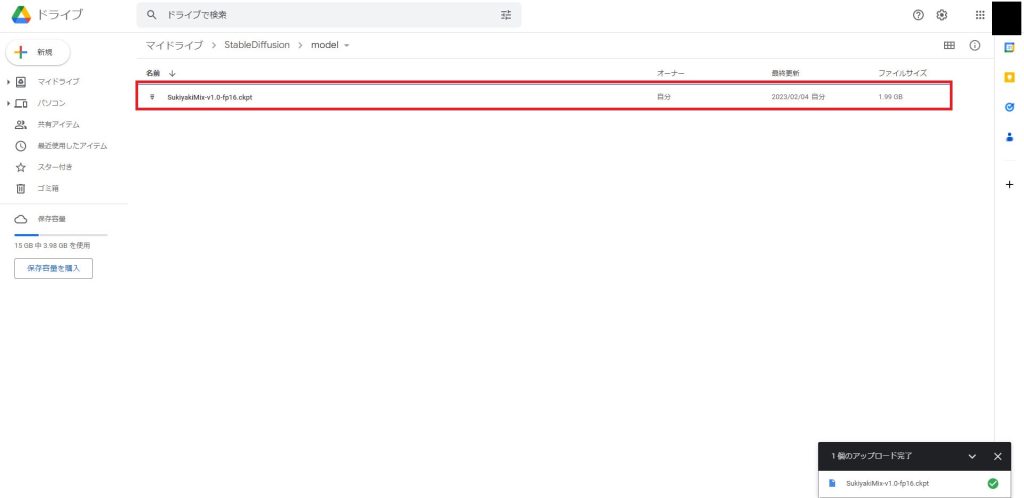
これでモデルのアップロードは完了です。

Google ColabでPythonファイルを編集する
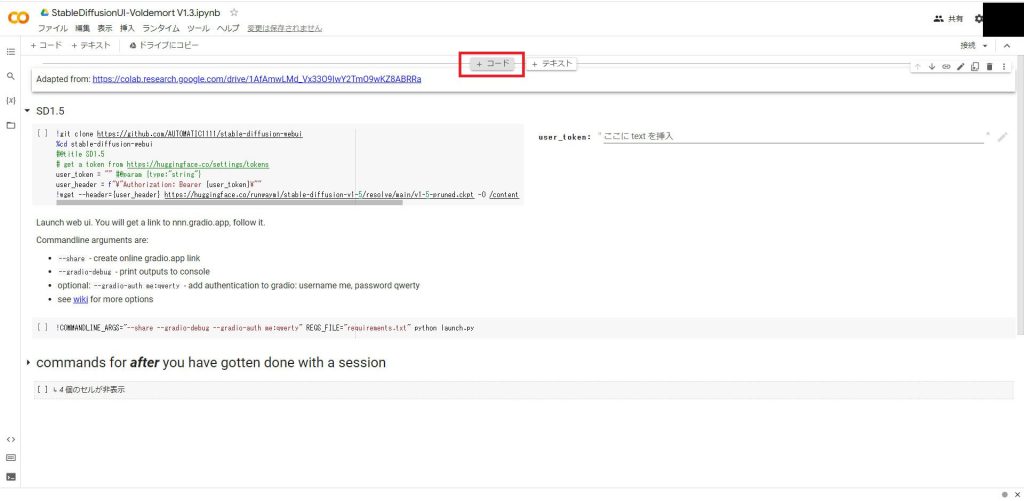
先ほどGitHubからコピーしたJupyterNotebook用Pythonファイル「StableDiffusionUI-Voldemort V1.3.ipynb」をGoogle Colabで開きます。
Google Driveへの接続
開いたら一番上のセルの中央あたりの枠線にマウスを乗せると「+コード」が表示されるため、それをクリックします。
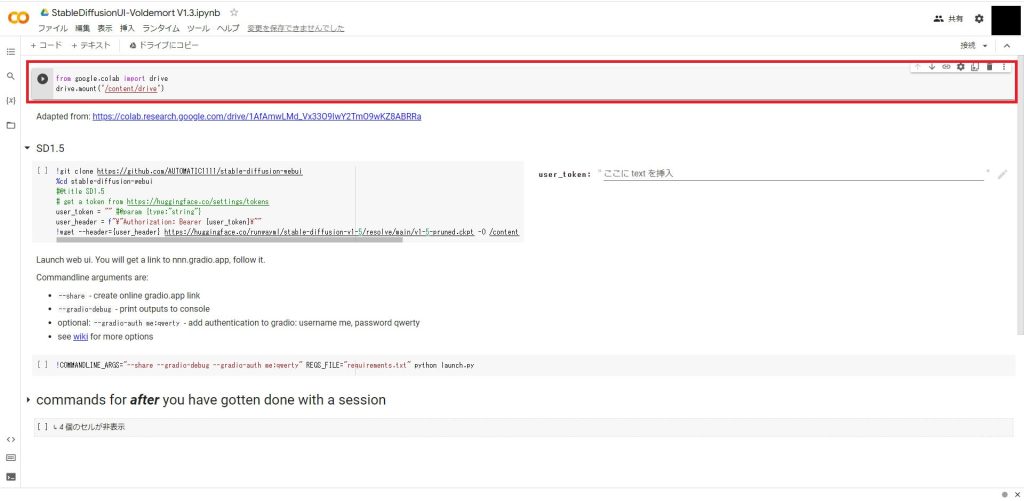
セルが表示されたら以下のコードを入力してください。
from google.colab import drive
drive.mount('/content/drive')
これで、Google Driveに接続するコードが実装されました。
モデルダウンロード処理の削除
続いて不要なコードをコメントアウトします。
「SD1.5」と書かれたセルの赤枠の部分は、使用するモデルをダウンロードする処理ですが、今回はGoogle Driveから読み込むため不要です。
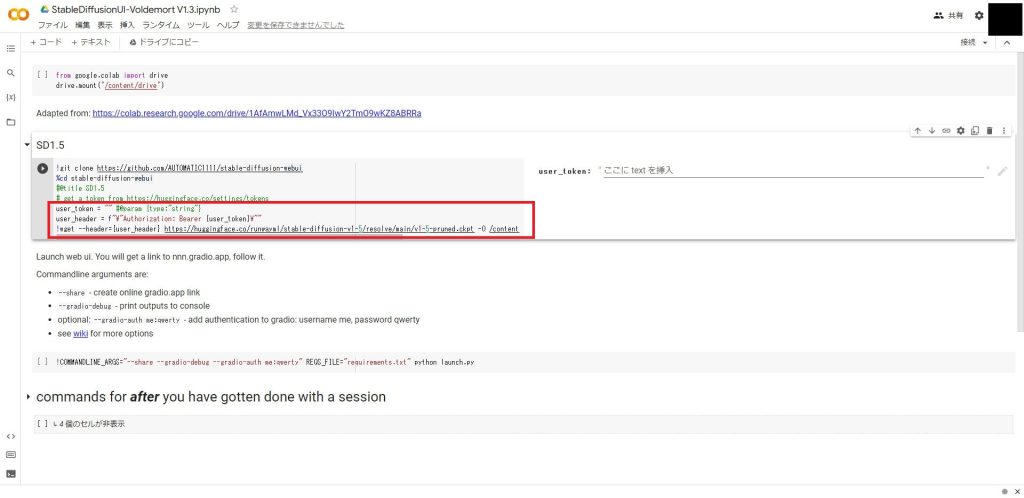
下から3行のコードを以下のようにコメントアウトしてください。
!git clone https://github.com/AUTOMATIC1111/stable-diffusion-webui
%cd stable-diffusion-webui
#@title SD1.5
# get a token from https://huggingface.co/settings/tokens
#user_token = "" #@param {type:"string"}
#user_header = f"\"Authorization: Bearer {user_token}\""
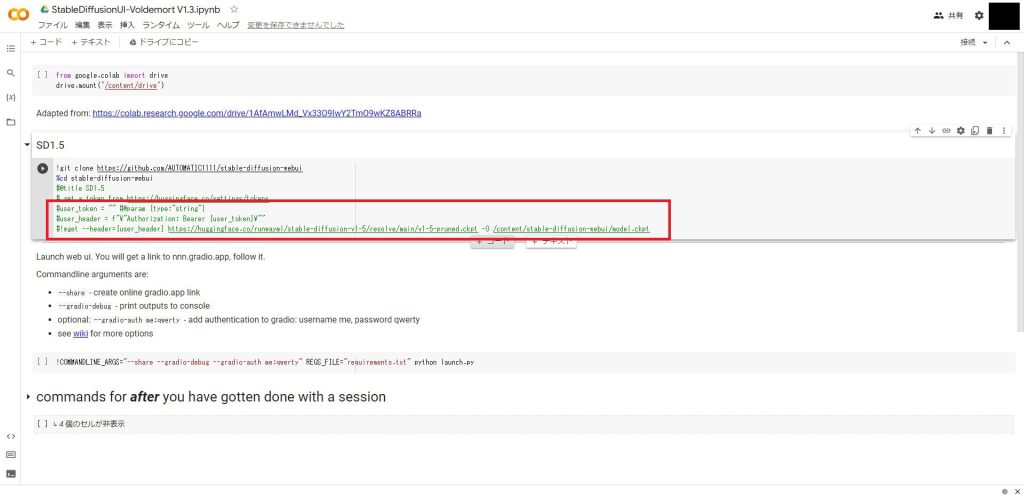
#!wget --header={user_header} https://huggingface.co/runwayml/stable-diffusion-v1-5/resolve/main/v1-5-pruned.ckpt -O /content/stable-diffusion-webui/model.ckpt編集後は以下のようになりました。
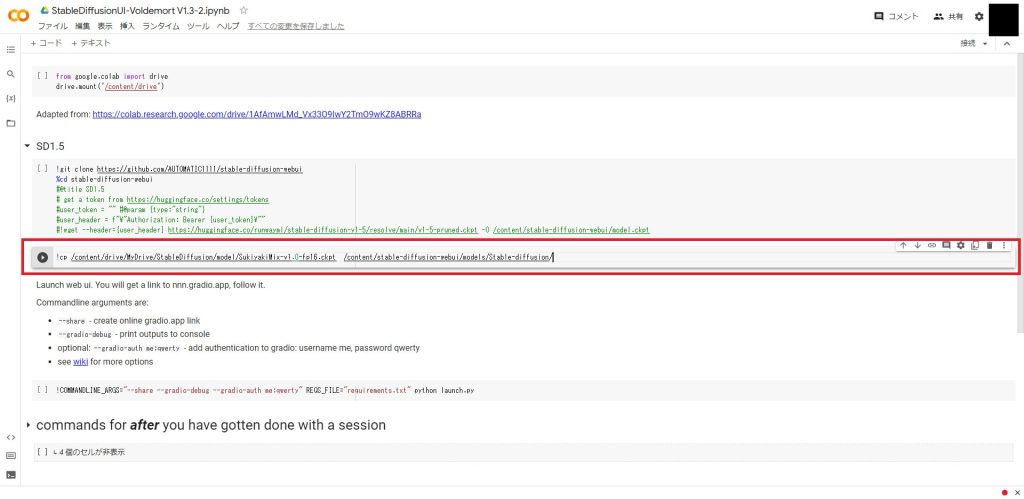
Google Driveからモデルをコピーする
先ほどGoogle Driveにアップロードしたモデルを、アプリ起動前に読み込む処理を追加します。
SD1.5のセルの下枠の部分にマウスを移動し、「+コード」をクリックします。
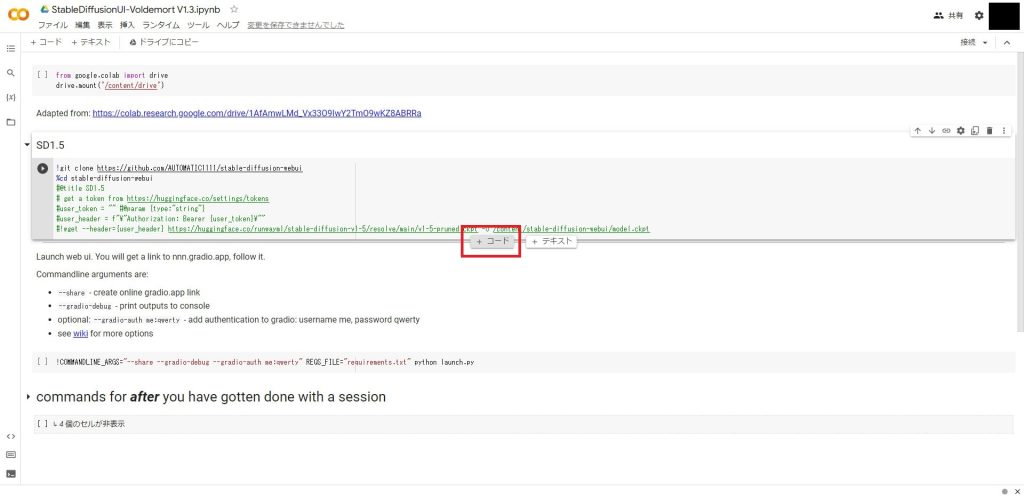
追加したセルに以下のコードを追加指定ください。
cpコマンドの引数の1つ目にGoogle Driveのコピーしたいモデルのパスを指定します。2目の引数にはコピー先のディレクトリを指定します。(AUTMATIC1111側でモデルを配置する場所が決まっているので、下のパスをそのままコピーしてください)
モデルを複数使いたい場合は、cpコマンドを複数行追加してください。
!cp /content/drive/MyDrive/StableDiffusion/model/SukiyakiMix-v1.0-fp16.ckpt /content/stable-diffusion-webui/models/Stable-diffusion/以下のように追加したら完了です。
スクリプトを実行する
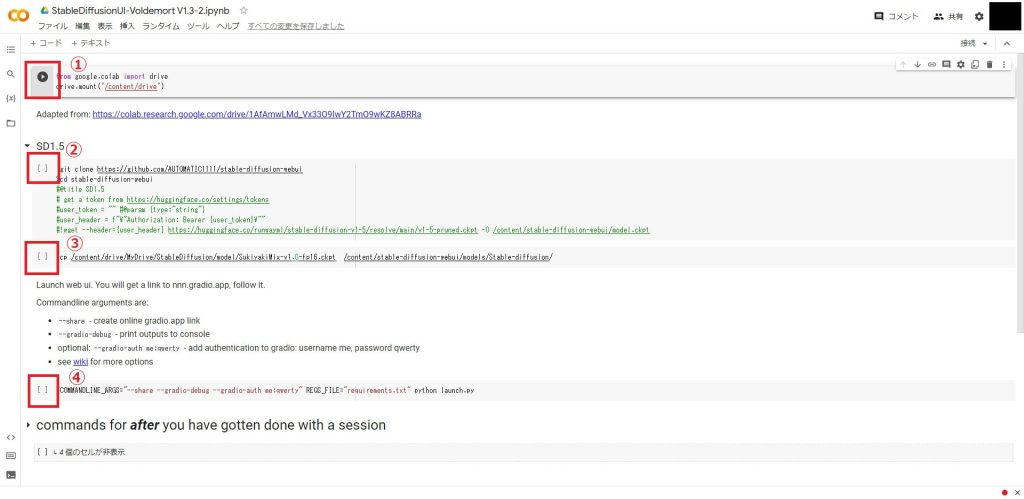
最後に作成したスクリプトを実行します。
以下の①~④のすべてのセルの実行ボタン(▶)をクリックして上から順番に実行してください。
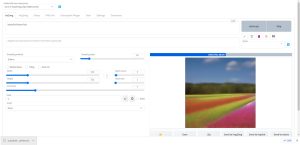
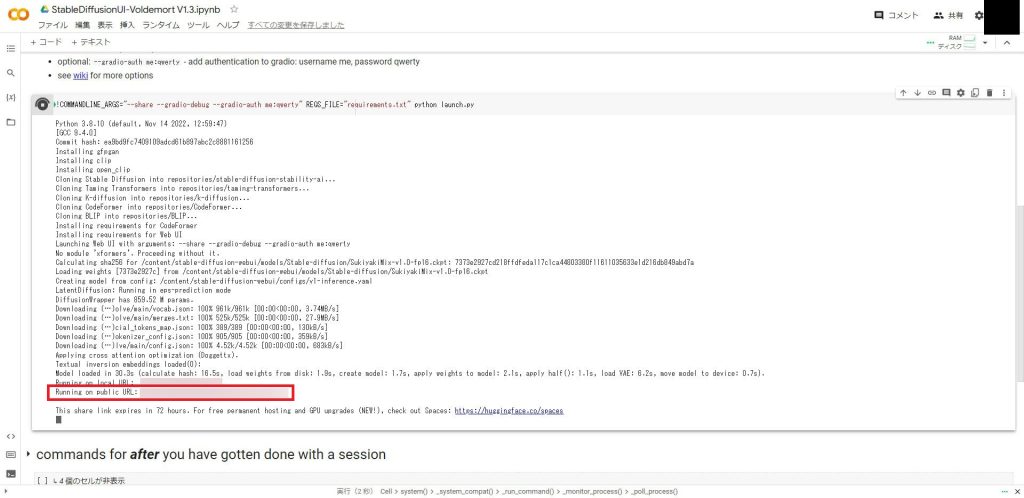
アプリケーションが起動すると以下のようにリンクが表示されます。
「Running on public URL:」と書かれている方をクリックしてUIを起動してください。
起動に成功すると、以下のようなログイン画面が表示されます。
初期設定では、「ユーザー名:me」、「パスワード:qwerty」となっていますので、入力してログインしてください。
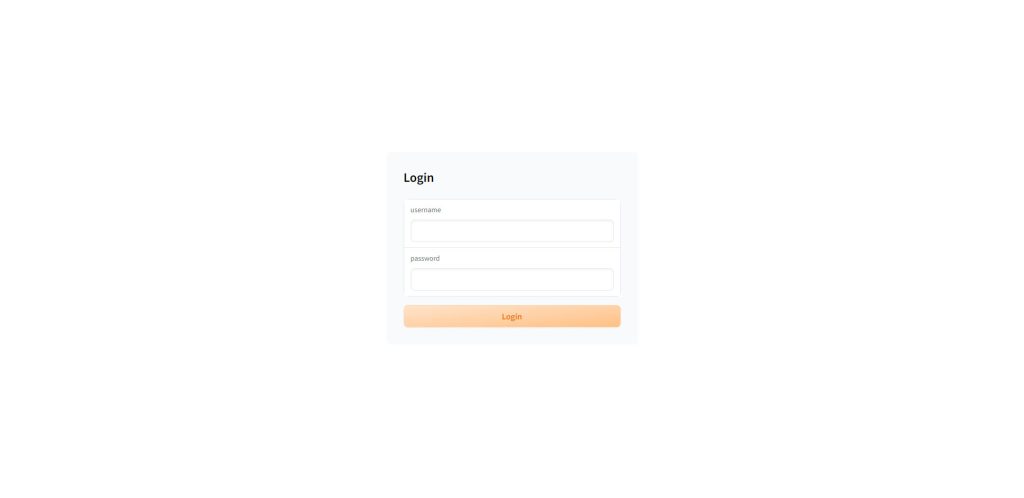
以下の画面が表示されたら準備完了です。

VAE(Auto-Encoder)を変更する
VAE(Variational Autoencoder、変分自己符号化器)は、データの次元圧縮や生成、および特徴抽出に利用される深層学習の手法の一つです。
イラストを生成する際、各モデルごとに推奨されているVAEに変更することで、イラストのクオリティを大幅に向上させることができます。(モデル配布サイトの解説に記載されています)
VAEを変更したい場合は、設定方法を以下の記事で解説しています。
Settingsの変更内容を次回から自動で読み込む方法については、以下の記事で解説しています。
画像を生成する
AUTOMATIC1111の画面の解説と使い方については以下の記事で解説しています。
(ローカル環境での説明ですが、AUTOMATIC1111の機能自体は同じです)
また、GPT-3を使ってプロンプトを自動生成する方法を以下の記事で解説していますので、あわせてご覧ください。
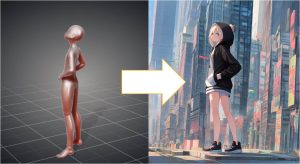
構図やキャラクターのポーズを指定して生成する
これまで解説してきた手順で、プロンプトから画像を生成できるようになりました。しかし、プロンプトだけでは、どのようなポーズのキャラクターが出力されるかはガチャ的な要素であり、かなり試行回数を踏まなければ理想的なイラストは出力できません。
そこで、AUTOMATIC1111の拡張機能でControlNetというツールを使用することで、イラストの構図やキャラクターのポーズを指定して生成できるようになります。
ControlNetを使った生成方法は以下のページで解説しています。
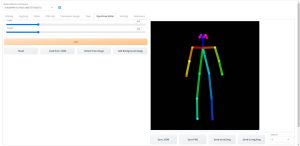
AUTOMATIC1111の拡張機能として使用できるOpenPose Editorがリリースされ、AUTOMATIC1111のUI内でポーズデータの作成から画像生成までを一貫して実行できるようになりました。
Stable Diffusionのテクニックを効率よく学ぶには?
 カピパラのエンジニア
Stable Diffusionを使ってみたいけど、ネットで調べた情報を試してもうまくいかない…
 猫のエンジニア
そんな時は、操作方法の説明が動画で見られるUdemyがおすすめだよ!
動画学習プラットフォームUdemyでは、画像生成AIで高品質なイラストを生成する方法や、AIの内部で使われているアルゴリズムについて学べる講座が用意されています。
Udemyは講座単体で購入できるため安価で(セール時1500円くらいから購入できます)、PCが無くてもスマホでいつでもどこでも手軽に学習できます。
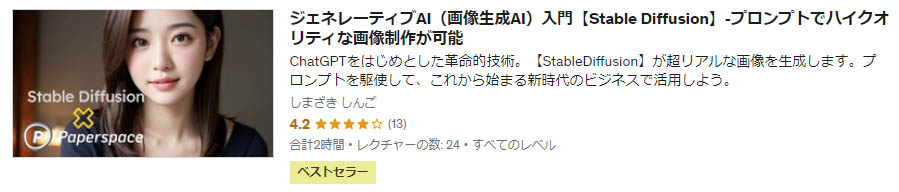
Stable Diffusionに特化して学ぶ
Stable Diffusionに特化し、クラウドコンピューティングサービスPaperspaceでの環境構築方法から、モデルのマージ方法、ControlNetを使った構図のコントロールなど、中級者以上のレベルを目指したい方に最適な講座です。
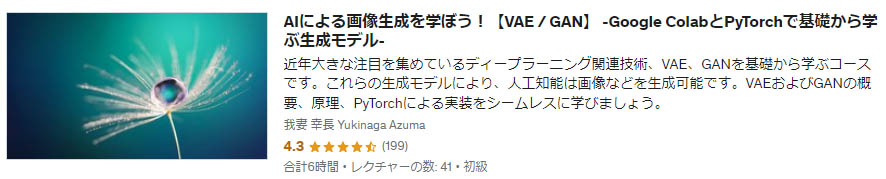
画像生成AIの仕組みを学ぶ
画像生成AIの仕組みについて学びたい方には、以下の講座がおすすめです。
画像生成AIで使用される変分オートエンコーダやGANのアーキテクチャを理解することで、よりクオリティの高いイラストを生成することができます。
まとめ
今回はGoogle ColabでAUTOMATIC1111を使用する方法について解説しました。ストレージやメモリの制約もありますが、Colabで環境構築しておけば24時間外出さっきからでもAUTOMATIC1111で画像生成をすることができます。
無料プランでも利用できますので、ぜひ活用してみてください。
また、以下の記事で効率的にPythonのプログラミングスキルを学べるプログラミングスクールの選び方について解説しています。最近ではほとんどのスクールがオンラインで授業を受けられるようになり、仕事をしながらでも自宅で自分のペースで学習できるようになりました。
スキルアップや副業にぜひ活用してみてください。

スクールではなく、自分でPythonを習得したい方には、いつでもどこでも学べる動画学習プラットフォームのUdemyがおすすめです。
講座単位で購入できるため、スクールに比べ非常に安価(セール時1200円程度~)に学ぶことができます。私も受講しているおすすめの講座を以下の記事でまとめていますので、ぜひ参考にしてみてください。

それでは、また次の記事でお会いしましょう。


コメント