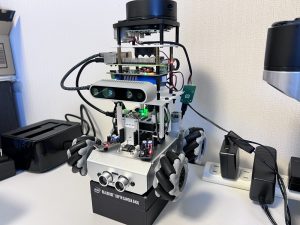
今回はRaspberry Piで植物を自動栽培するために必要なアイテムを購入しましたので、紹介していきたいと思います。
また、Raspberry Piを使った植物の自動水やり器の製作方法を以下の記事で解説していますので、あわせてご覧ください。

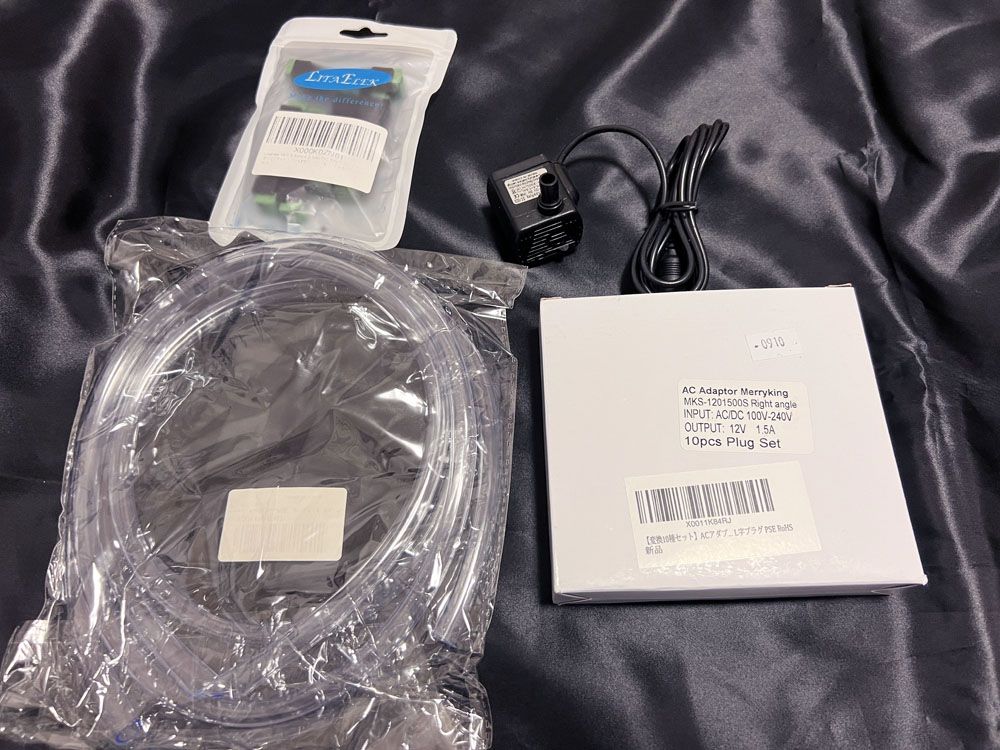
購入したアイテムは以下となります。
今回紹介するものは主にポンプで水をくみ上げるアクチュエータに関連する部分で、これらとは別にセンサー類も用意します。
購入したアイテム
それでは実際に購入したアイテムを見ていきます。
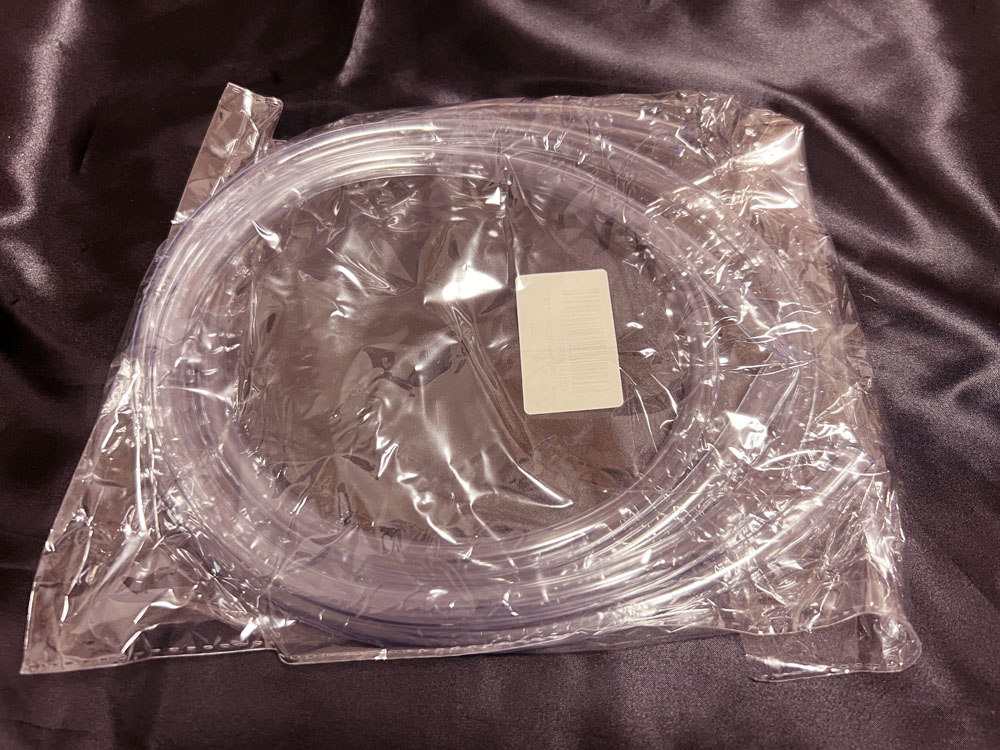
ホース
まず1つ目は目はホースです。このホースで水を栽培するハーブまで運びます。

今回は2M長、8mm内径のものを用意しました。

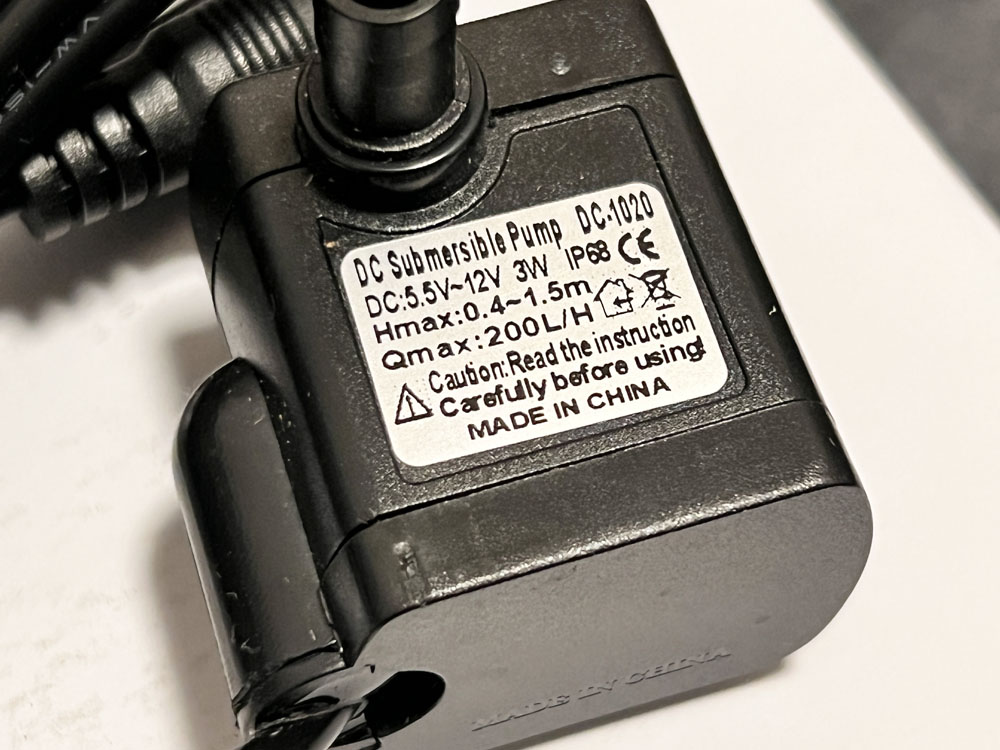
ポンプ
続いてはポンプです。先ほどのホースをこのポンプに接続して水をくみ上げます。

このポンプは魚の飼育用に販売されているものになります。
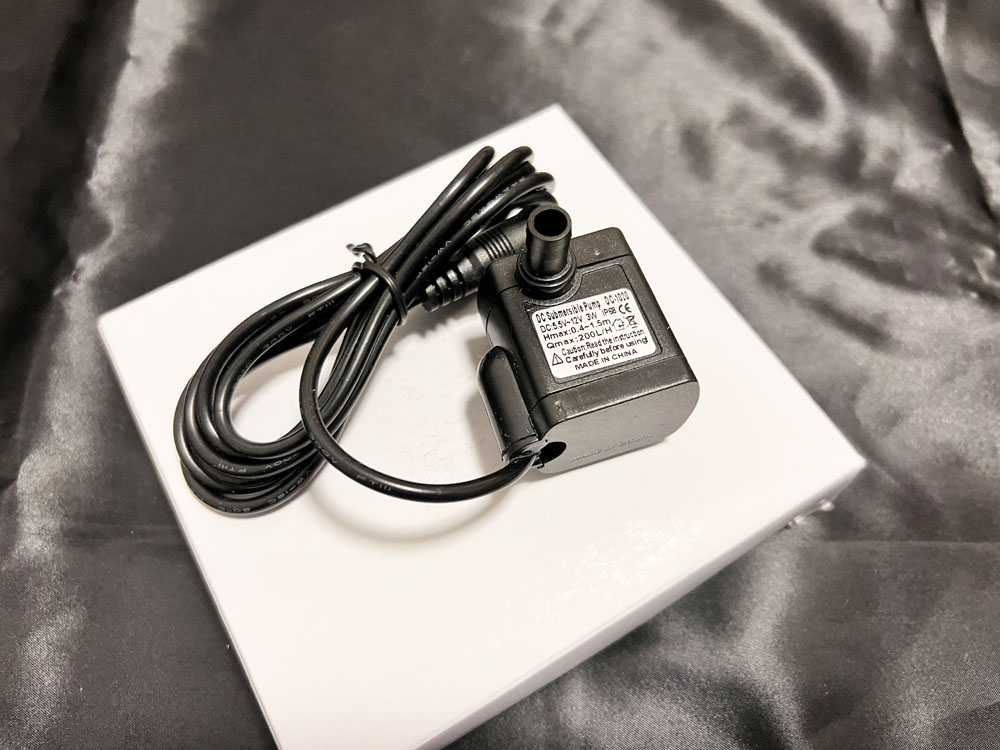
最大揚程1.5Mのモノをチョイスしました。ホースの径と合うかを確認して選定してください。

電源
続いて紹介するのはポンプ用電源です。

購入したものがこちらです。電源本体とコネクタ形状を変更できるアダプタが9種類付属していました。
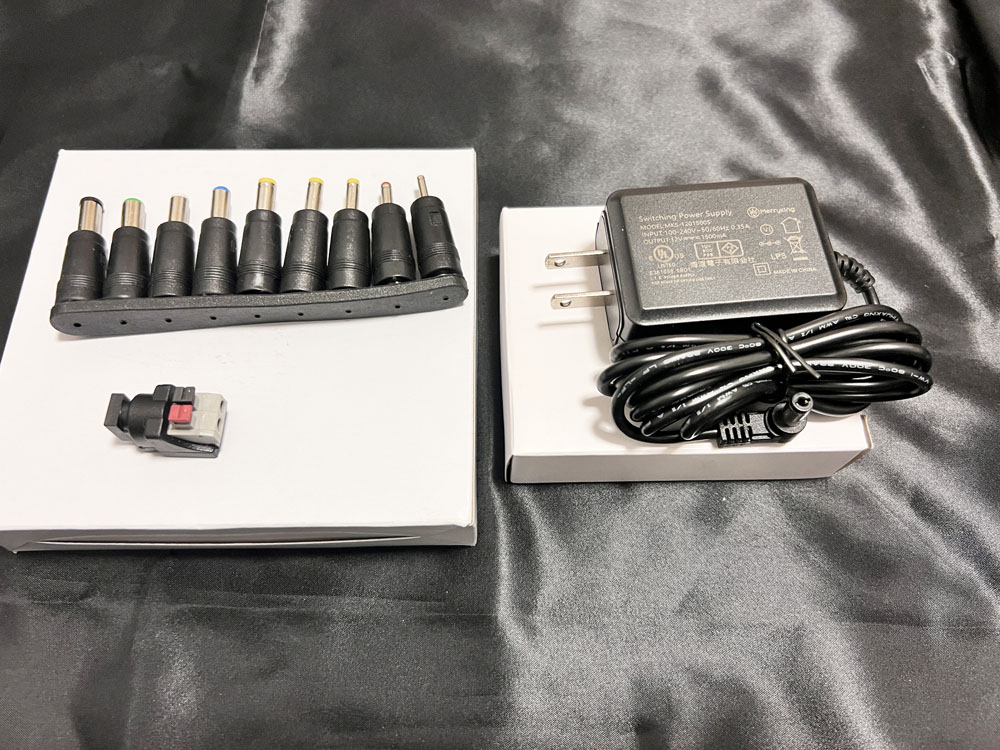
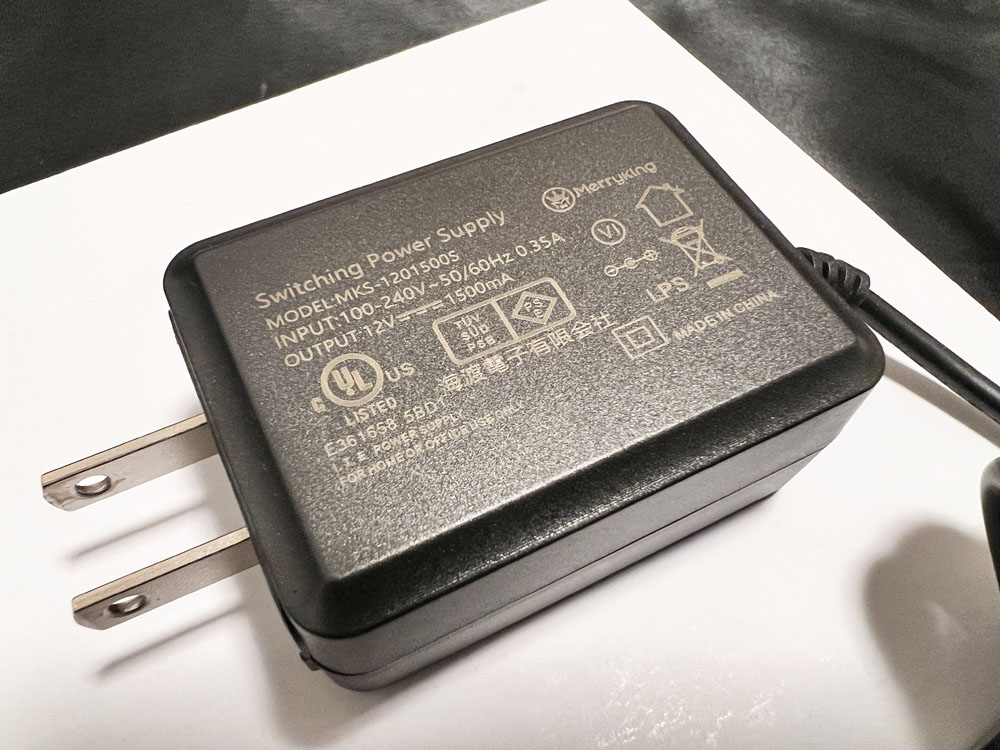
電源は15V、1.5Aのものです。
電源のコネクタに配線が接続できるアタッチメントも付属しています。実際にポンプと接続する際はこちらを使用します。

楽天では全く同じものの取り扱いが内容でしたので、コネクタ形状等ご注意ください。

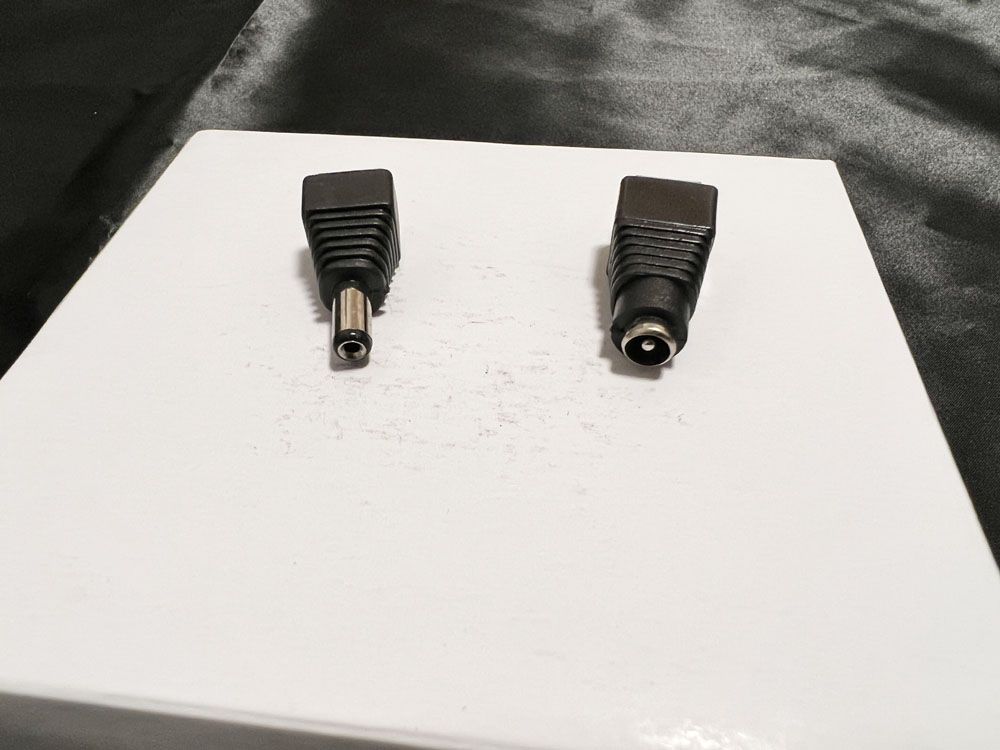
電源アダプタコネクタネジ端子
最後に紹介するのは電源コネクタ変換端子です。

必要なのは1セットで良かったのですが、10個セットのものがアマゾンで安かったのでこちらを購入しました。
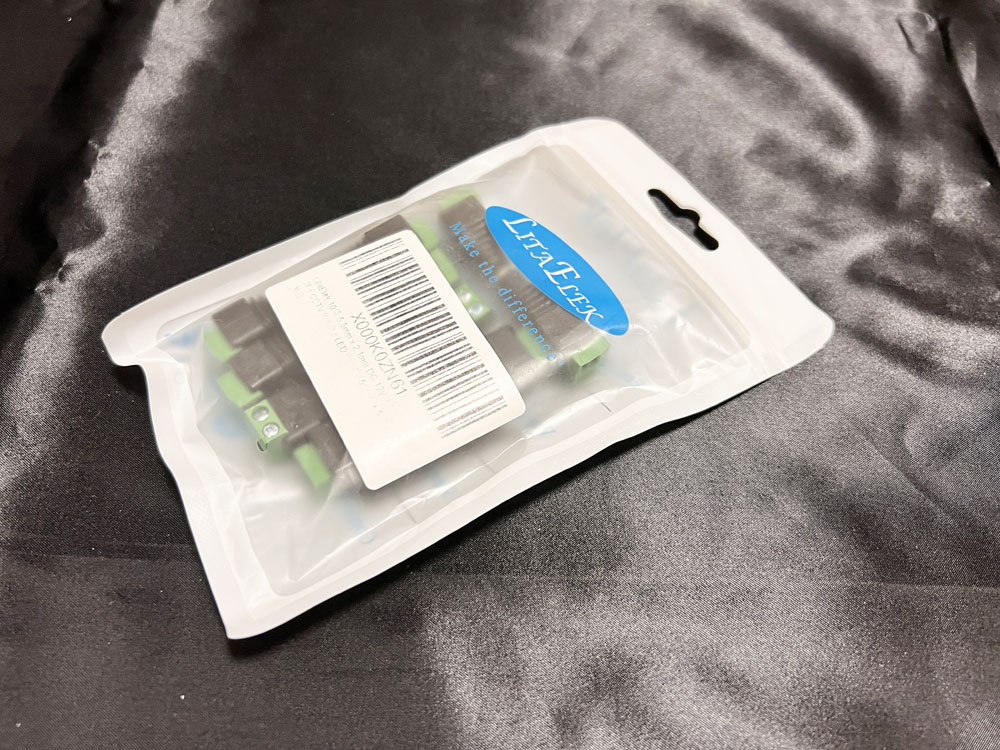
アダプタのオスメスどちらも使用できるようになっています。
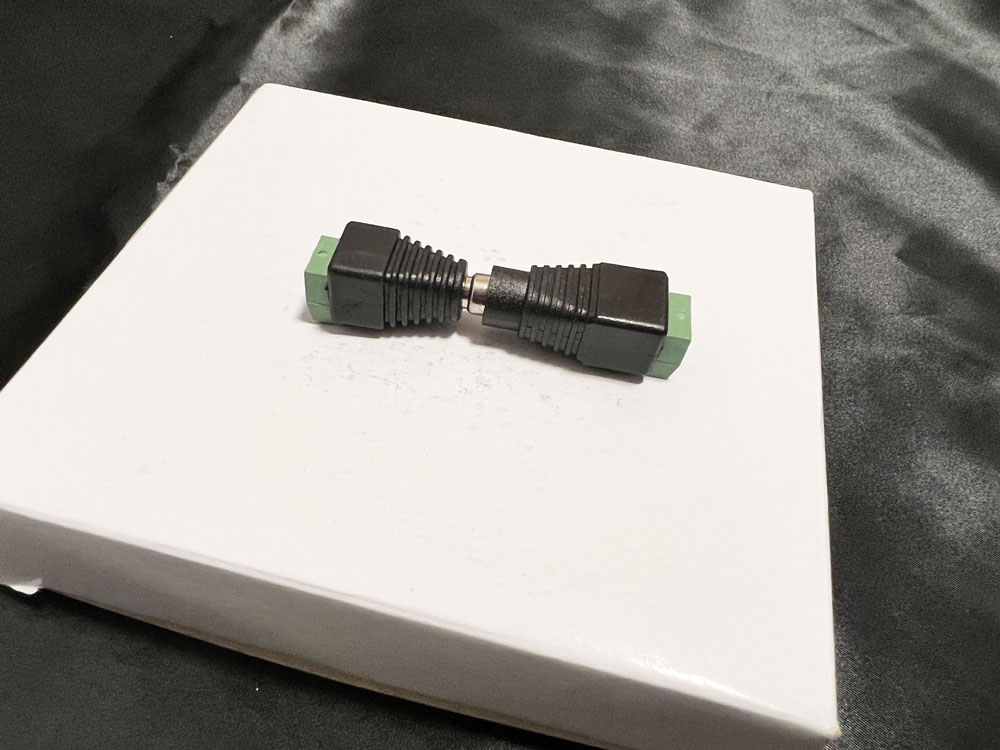
電源側の端子です。反対側は端子台になっており、配線を接続しできるようになっています。

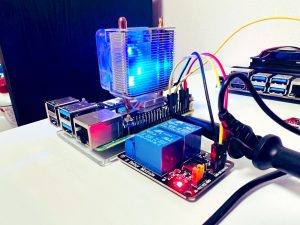
リレー回路
最後はリレー回路です。今回はSODIALというメーカーのリレーを購入しました。

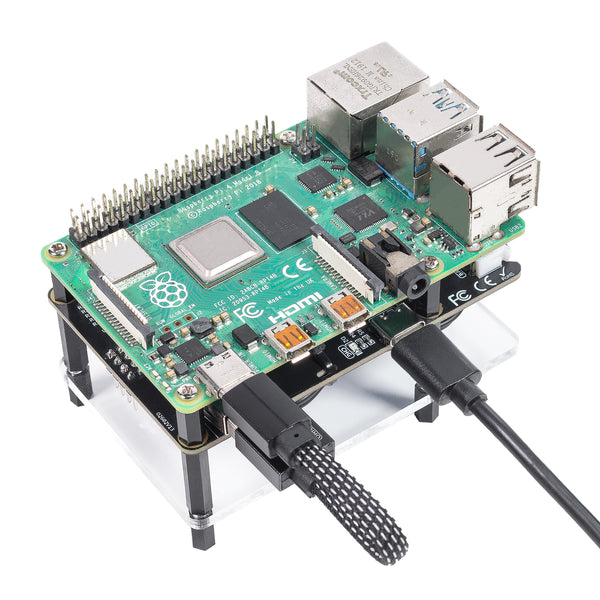
このリレー回路をRaspberry Piから制御してポンプを駆動します。
Raspberry Piからリレー回路を駆動する方法については、以下の記事で解説しています。


まとめ
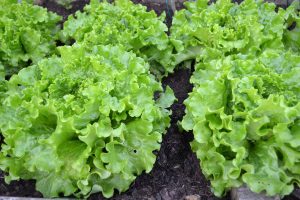
Raspberry Piで植物を自動栽培するために必要なアイテムについて紹介してみました。今後、これらのアイテムを組み合わせて実際にハーブを育てていきたいと思っています。
それでは、また次の記事でお会いしましょう。


コメント