今回はGitのインストール方法について書きたい思います。
私は普段仕事ではソースコードのバージョン管理はSubversionで行っているのですが、現在ブログ等で記載しているソースコードをGitHubで公開したいと思い、Gitをインストールすることにしました。
インストーラーは英語で、設定項目もたくさんあってややこしかったため、記事にまとめておくことにしました。
ダウンロード
以下のGitダウンロードサイトを開きます。
https://git-scm.com/
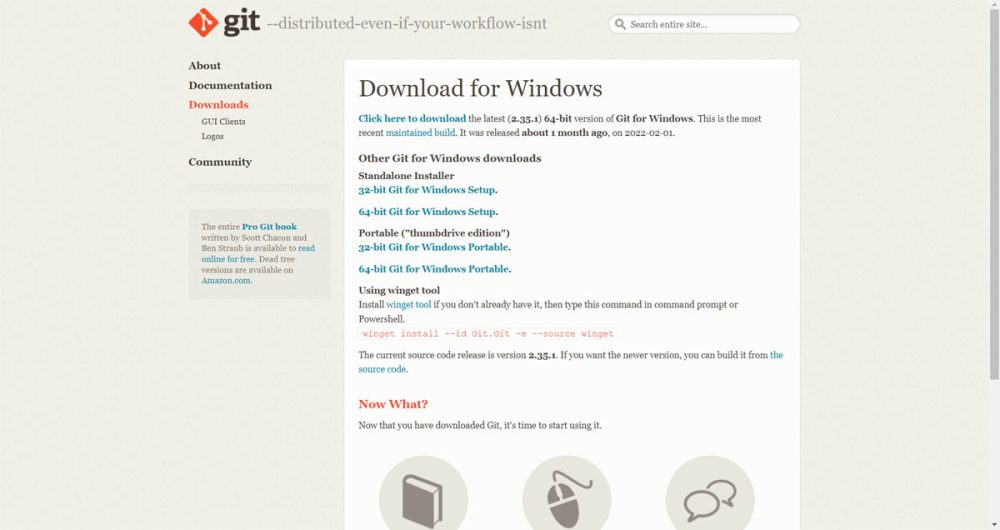
トップページの「Downloads」をクリックします。
続いて使用しているOSを選択します。私の場合はWindowsを選択しました。
続いて「64-bit Git for Windows Setup.」をクリックしてダウンロードします。
ダウンロードが完了したらインストーラーを実行してください。
インストール
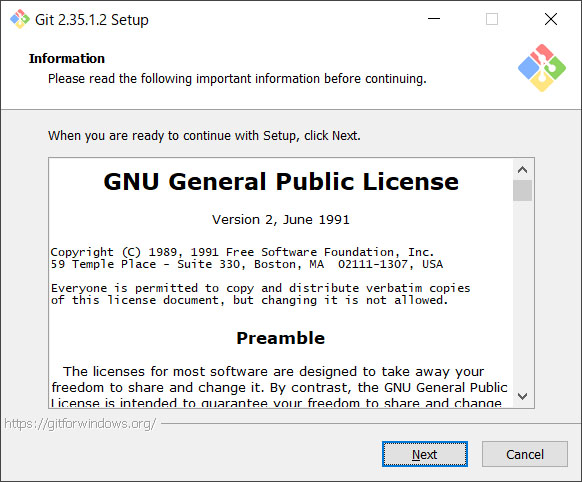
Information
GPLライセンスについての説明です。「Next」をクリックします。
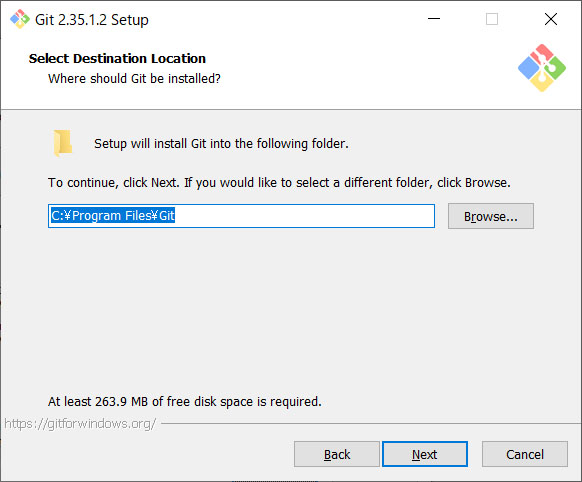
Select Destination Location
インストール先のディレクトリを指定します。変更が必要な場合はパスを修正してください。確認したら「Next」をクリックします。
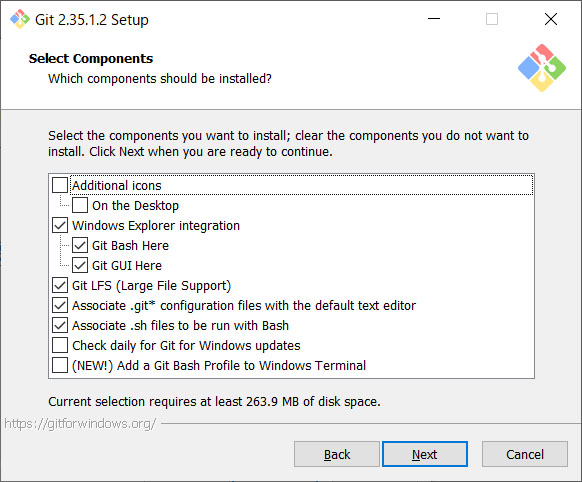
Select Components
Gitのインストール項目についてです。変更が必要なければ「Next」をクリックします。
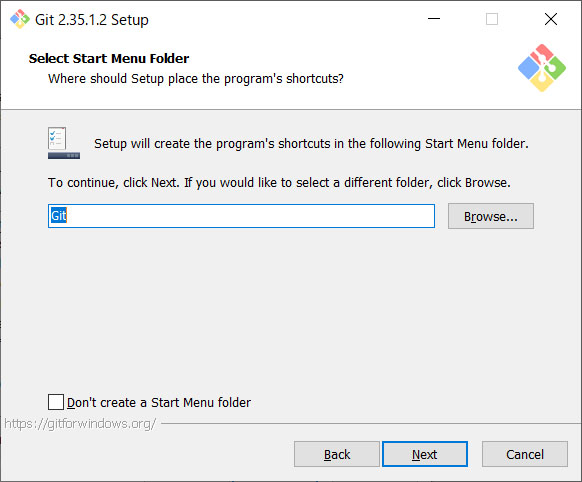
Select Start Menu Folder
スタートメニューのフォルダ名の確認です。変更が必要なければ「Next」をクリックします。
Choosing the default editor used by Git
使用するテキストエディタを選択します。私の場合はコーディングに使っているVisual Studio Codeを選択しました。エディタを選択したら「Next」をクリックします。

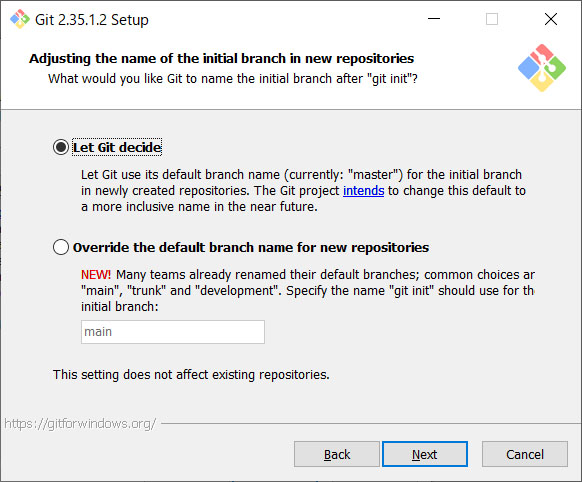
Adjusting the name of the initial branch in new repositories
新しいリポジトリの最初のブランチ名の設定です。デフォルトでは「master」となります。特に変更する必要がなければ、デフォルトのままで「Next」をクリックします。
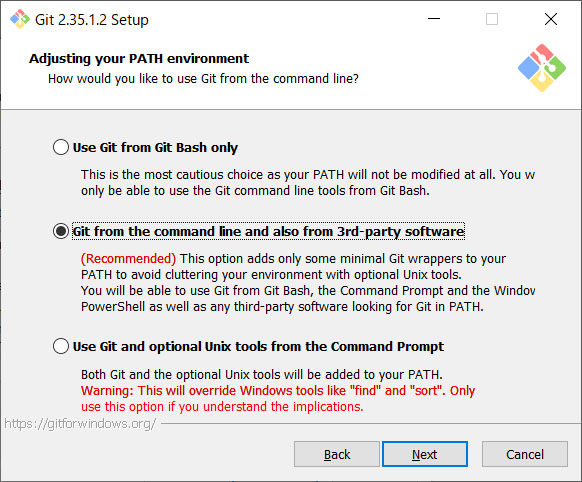
Adjusting your PATH environment
GitコマンドをGit Bash上だけで実行するか、それ以外のツール上でも実行できるようにするかを選択します。私の場合はデフォルトのままにしました。選択したら「Next」をクリックしてください。
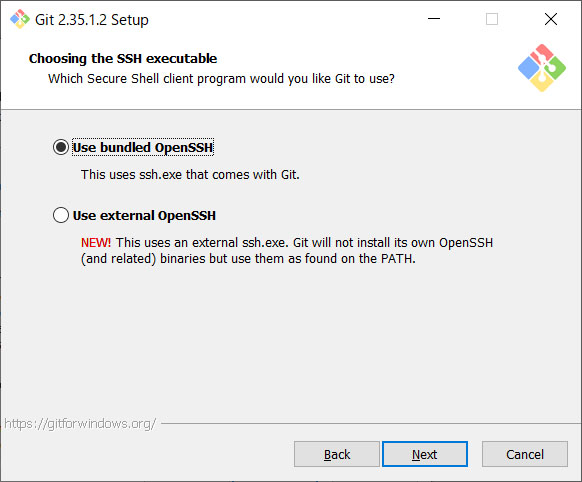
choosing the SSH executable
Gitで使用するSSHを選択します。デフォルトはGitに付属するSSHとなりますので、変更が必要なければ「Next」をクリックします。
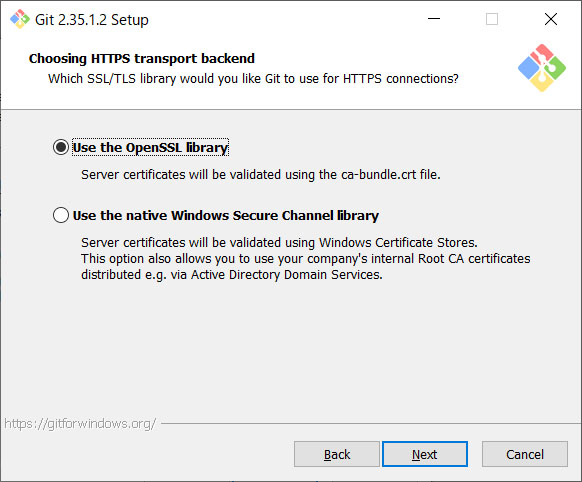
Choosing HTTPS transport backend
HTTPSの接続設定の確認です。特に使用する環境で指定がなければデフォルトのままで問題ないかと思います。設定を確認後、「Next」をクリックします。
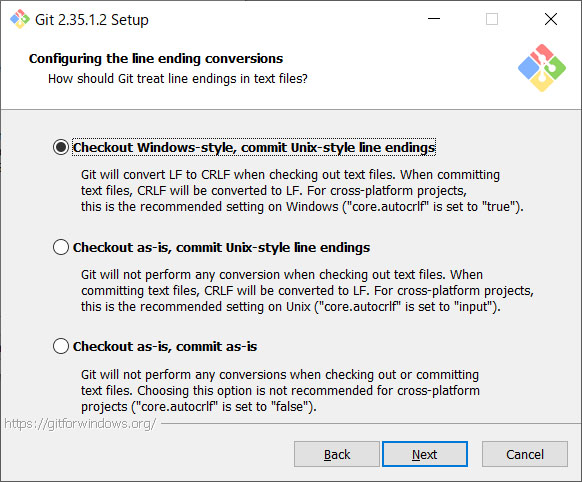
Configuring the line ending conversions
改行コードについての設定です。「Checkout Windows-style, commit Unix-style line endings」を選択すると、Windows乗のテキストファイルは「CRLF」、Gitで管理するテキストファイルは「LF」となり、コミット時に自動的に変換されます。特に問題がなければデフォルトで「Next」をクリックします。
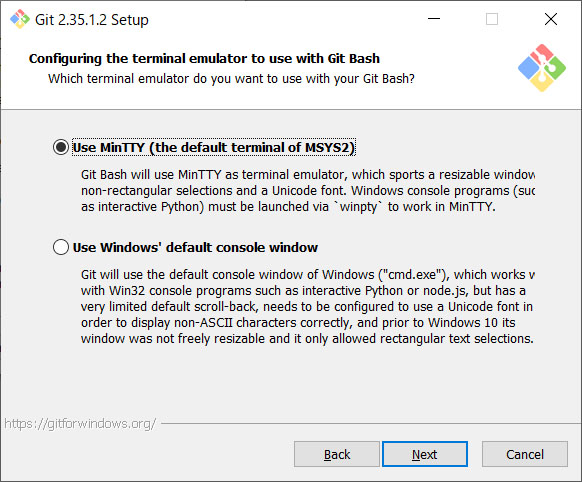
Configuring the terminal emulator to use with Git Bash
Git Bashエミュレータについての設定です。デフォルトで「Next」をクリックします。
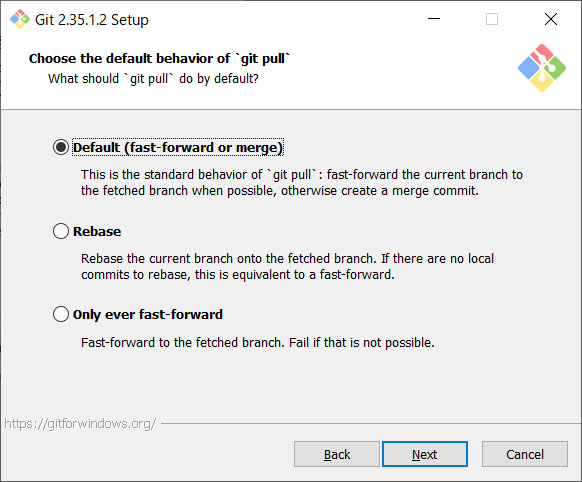
Choose the default behavior of ‘git pull’
「git pull」コマンドを実行した場合の動作についての設定です。デフォルトのまま「Next」をクリックします。
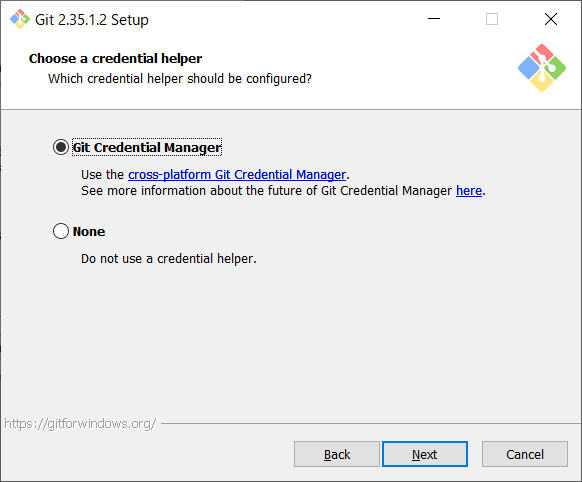
Choose a credential helper
Gitに接続する際のパスワード認証機能についての設定です。デフォルトのまま「Next」をクリックします。
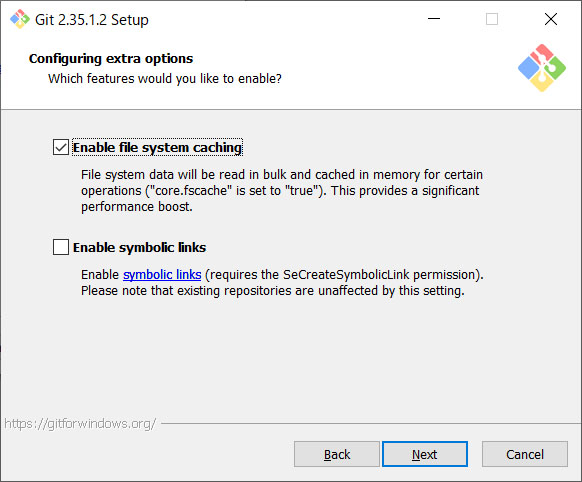
Configuring extra options
拡張オプションの設定です。デフォルトで「Next」をクリックします。
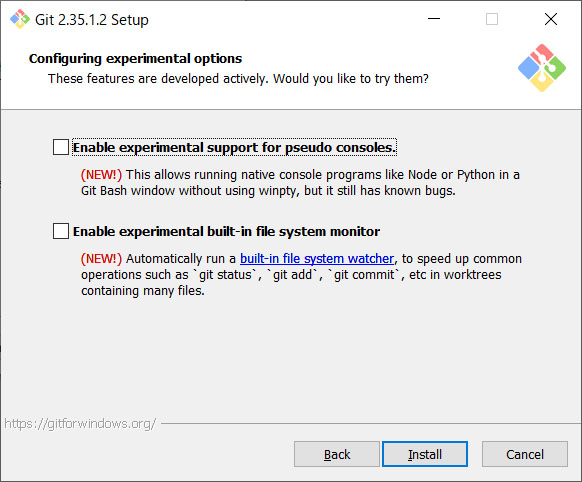
Configuring experimental options
試験的なオプションについての設定です。デフォルトで「Next」をクリックします。
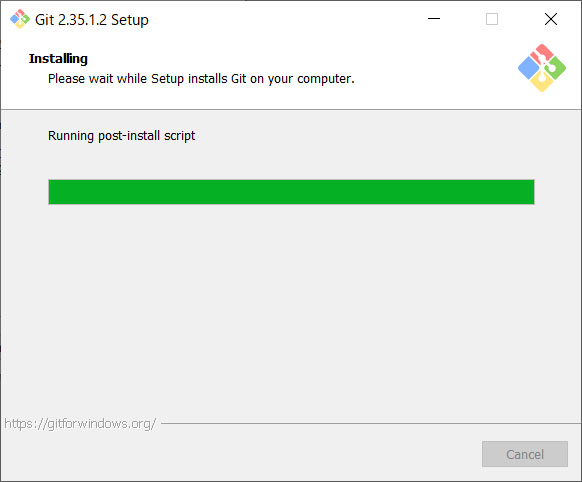
Installing
インストールが始まったら完了するまで待ちます。
Completing the Git Setup Wizard
以下の画面が表示されたら「Finish」を選択してインストール完了です。

まとめ
セットアップの項目がかなりたくさんあり、バージョンによって結構変わっているようでした。今後のGitのバージョンアップでまた変わってくるかと思いますので、必要に応じて変更してください。
また、以下の記事で効率的にPythonのプログラミングスキルを学べるプログラミングスクールの選び方について解説しています。最近ではほとんどのスクールがオンラインで授業を受けられるようになり、仕事をしながらでも自宅で自分のペースで学習できるようになりました。
スキルアップや副業にぜひ活用してみてください。

スクールではなく、自分でPythonを習得したい方には、いつでもどこでも学べる動画学習プラットフォームのUdemyがおすすめです。
講座単位で購入できるため、スクールに比べ非常に安価(セール時1200円程度~)に学ぶことができます。私も受講しているおすすめの講座を以下の記事でまとめていますので、ぜひ参考にしてみてください。

それでは、また次の記事でお会いしましょう。


コメント