今回はYOLOを使った物体検出をWindows PCで行う方法について解説したいと思います。YOLOは処理が高速でリアルタイム処理にも向いていますので、ぜひ活用してみてください。
TensorFlow、Kerasのインストール
まずはYOLOの推論実行に必要なTensorFlowとKerasをインストールしていきます。
TensorFlow
TensorFlowをインストールします。実行するPCのGPUのあり、無しで以下のコマンドを使い分けてください。
GPUなしの場合。
pip install tensorflowGPUアリの場合。
pip install tensorflow-gpuTensorFlowのバージョンを確認します。
python
import tensorflow as tf
tf.__version__
バージョンが表示されました。
'2.7.0'
Keras
Kerasをインストールします。以下のコマンドを実行してください。
pip install kerasKerasのバージョンを確認します。
python
import keras
keras.__version__
バージョンが表示されました。
'2.7.0'
YOLOのダウンロード
YOLOのリポジトリを以下のページからダウンロードします。

「Code」のボタンをクリックし、「Download ZIP」をクリックします。

ダウンロードが終了したら、任意の場所に解凍してください。
モデルのダウンロード
こちらから学習済みモデル「yolov3.weights」をダウンロードします。
ダウンロードしたファイルを以下のディレクトリに配置します。
(ダウンロードしたyoloのフォルダの場所)/yolov3-tf2-master/data
モデルの変換
ダウンロードしたYOLOのリポジトリの場所に移動します。
cd (ダウンロードしたyoloのフォルダの場所)/yolov3-tf2-master「convert.py」を実行することでKerasで使用できるモデルに変換されます。
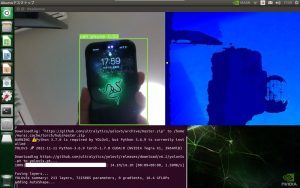
python convert.pyCPUしかない場合は以下のようなエラーが出ますが無視してください。
2022-10-20 16:28:02.509909: W tensorflow/stream_executor/platform/default/dso_loader.cc:64] Could not load dynamic library 'cudart64_110.dll'; dlerror: cudart64_110.dll not found
2022-10-20 16:28:02.510074: I tensorflow/stream_executor/cuda/cudart_stub.cc:29] Ignore above cudart dlerror if you do not have a GPU set up on your machine.
以下のようにログが出力されたら変換完了です。
I1020 16:53:03.214800  6080 convert.py:27] weights loaded
I1020 16:53:04.009478  6080 convert.py:31] sanity check passed
I1020 16:53:08.274535  6080 convert.py:34] weights saved
動作確認
ダウンロードしたYOLOのディレクトリに移動します。
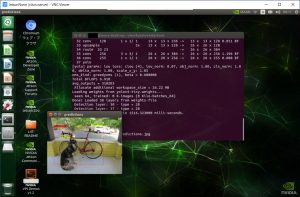
cd (ダウンロードしたyoloのフォルダの場所)/yolov3-tf2-master「detect.py」のプログラムを実行します。
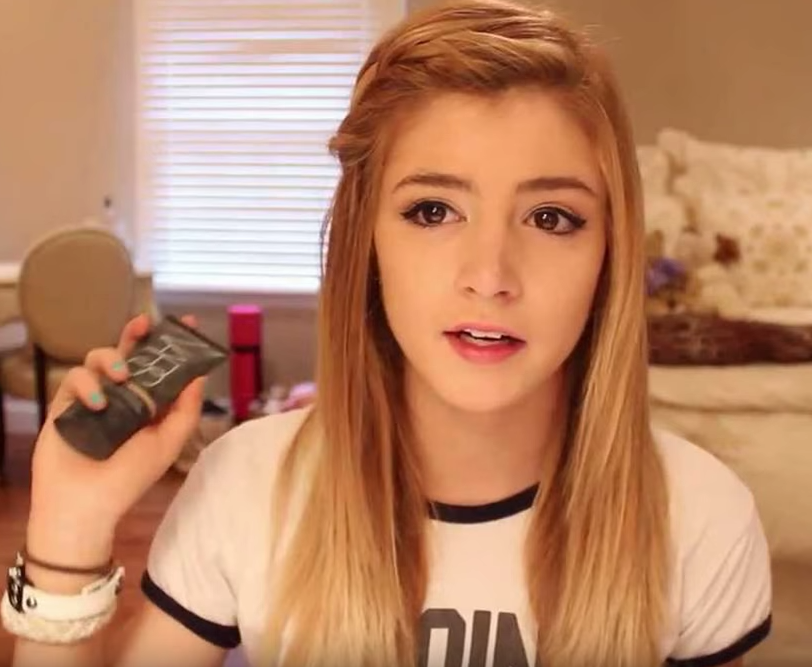
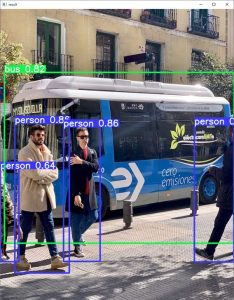
python .\detect.py実行すると「(ダウンロードしたYOLOのフォルダの場所)yolov3-tf2-master/data」のフォルダ内にある「girl.png」というファイルが自動的に読み込まれ、推論処理が実行されます。
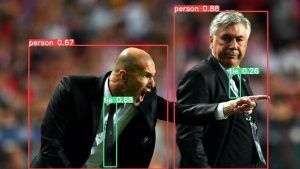
こちらが推論前のファイルです。
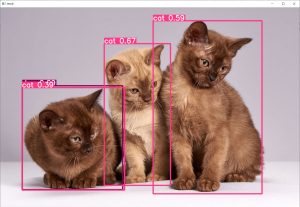
推論処理が実行されると1つ上の階層のディレクトリ(YOLOのトップフォルダ)に「output.jpg」というファイルが生成され、検出されたオブジェクトに枠と数値が描画されています。今回は人物と椅子が検出されました。
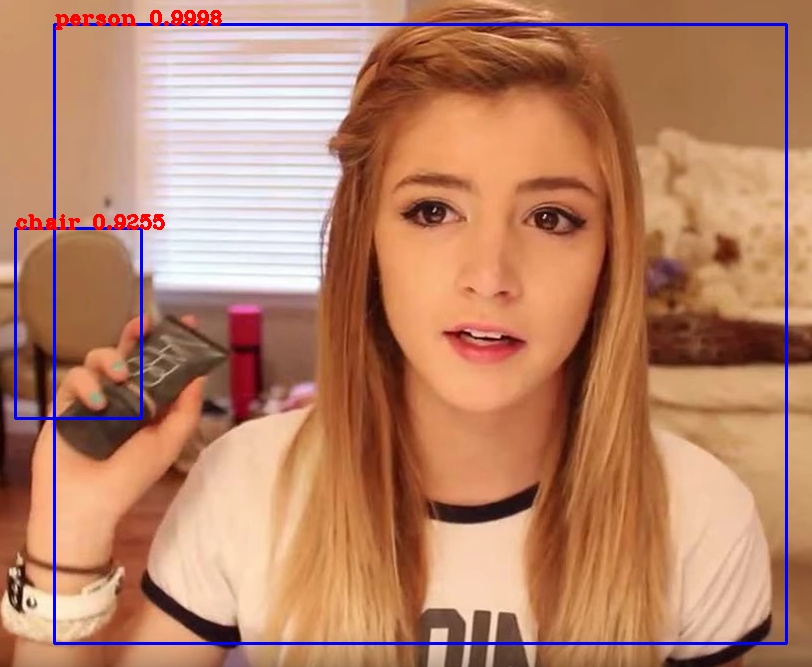
うまく推論処理が実行できたことが確認できました。
まとめ
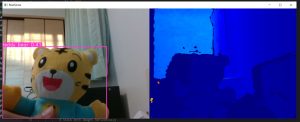
今回はWindows上でYOLOを使って物体検出する方法を解説しました。今後はYOLOのモデルとRealSense D435を使ってリアルタイムに映像のオブジェクト検出を行っていきたいと思います。
機械学習を効率よく学びたい方には、自分のペースで動画で学べるUdemyの以下の講座がおすすめです。数学的な理論からPythonでの実装までを習得できます。(私自身もこの講座を受講しています)

それでは、また次の記事でお会いしましょう。


コメント